Part of the “Hardening WordPress” series
Introduction
This first chapter of our WordPress hardening series will focus primarily on the initial setup that we performed for setting up our server and “installing” WordPress. This consisted of:
- Setting up our VPS
- Downloading and using WP-Cli
- Performing initial configuration for our deployment
Pre-Requisites
At this point, we had already selected and set up our target VPS. We chose to deploy a Ubuntu server with OVH (again) as their prices are very reasonable for the resources they offer, and when previously messing with our vulnerable/honeypot lab and backend services, we had no issues throughout the journey.
Once deployed, we configured our DNS to point our HackYour.Tech URL at the newly deployed server. Finally, we configured Cloudflare once again to help leverage their free features. Initially we wanted to utilise Cloudflare for TLS, but following setup we came across some problems which lead to a change in configuration. We will address this when we get to the TLS steps.
For the reader: It is expected that you have sudo on the server if following along.
Preparing our Web Server
As WordPress is a PHP based web application, we will need to install a few different components to allow us to run it. This includes PHP (duh), a SQL database for storing everything within our blog and an actual server to run it.
To start, we can install PHP and a selection of additional modules to help power our app. Once we have installed PHP, we can then get the version to download the fpm which we will need for use with nginx in a later step.
gary@server:~$ sudo apt update

gary@server:~$ sudo apt install php php-cli php-mysql php-xml php-gd php-curl -y

gary@server:~$ php -v

gary@server:~$ sudo apt install php<version>-fpm -y
We then wanted to ensure we had a webserver available for use. For our installation we have chosen nginx:
gary@server:~$ sudo apt install nginx -yThe database is up to you, there is a range of choices but for our installation we chose to use mysql:
gary@server:~$ sudo apt install mysql-server -y
gary@server:~$ sudo systemctl start mysql.service
It is recommended to create a specific user within mysql for the WordPress installation to utilise. To do this, we first need to log in as the root user, create the new user and then create and assign permissions to a WordPress specific database.
gary@server:~ sudo mysql -u root -p

mysql> CREATE DATABASE wordpress_db;

mysql> CREATE USER 'wp_user'@'localhost' IDENTIFIED BY 'password';

mysql> GRANT ALL PRIVILEGES ON wordpress_db.* TO 'wp_user'@'localhost';

mysql> FLUSH PRIVILEGES;

mysql> EXIT;
At this point, we have:
- PHP, and relative modules, installed and ready to use.
- An nginx webserver ready to server our upcoming PHP application.
- A WordPress specific database, with a newly created user with the correct permissions.
Now we have everything ‘ready’, we can look at setting up WordPress and getting our webserver up and running.
Downloading and using WP-Cli
With our web-server ready and correct modules installed, we should now be able to focus on WordPress and making sure we can get everything up and running.
First off, we chose to use the WP-Cli to help with our installation. It is also possible to just grab the latest version of WordPress from their website and manually install/configure, but we wanted to test the cli tool out our side. The below commands show the download, permissions and target location for the cli tool.
gary@server:~$ curl -O https://raw.githubusercontent.com/wp-cli/builds/gh-pages/phar/wp-cli.phar
gary@server:~$ sudo chmod +x wp-cli.phar
gary@server:~$ sudo mv wp-cli.phar /usr/local/bin/wp
Once wp-cli is in the above directory, it should be usable within the system’s PATH. Allowing us to simply just run the ‘wp’ command and retrieve some output relative to the executable:
gary@server:~$ wpNow we want to move into our target directory where WordPress will be served from. For this, we are using the html directory as our root directory. You can also see that we assigned ownership of this directory to a local unix user for the duration of the setup. These file permissions will change afterwards, but this helps remove any weird blockers that may arise due to file permissions.
Note: before tampering with file permissions, keep track of what you change in the event they need reverting in the future. Bad file permissions can lead to additional vulnerabilities for both local and remote attackers. We will touch on this later in the project.
gary@server:~$ cd /var/www/html
gary@server:~$ sudo chown -R gary:gary /var/www/html/
With our file permissions ‘normalised’ for the current user, we can utilise the wp-cli tool to download and configure our WordPress instance. The below commands will walk us through the following:
- Downloading the latest version of WordPress available and unpacking it into our current directory
- Creating the required configuration with the relevant database information to allow WordPress to connect. These should match the previous user created.
- Finalising the installation with some basic requirements as well as the initial admin user. Keep in mind, the email won’t matter/work unless you configure your server to send emails (out of scope for this post right now).
gary@server:/var/www/html$ wp core download

gary@server:/var/www/html$ wp config create --dbname=wordpress_db --dbuser=wp_user --dbpass=password --dbhost=localhost

gary@server:/var/www/html$ wp core install --url=wordpress_site.com --title="Website title" --admin_user="admin" --admin_password="another_strong_password" --admin_email="[email protected]"
Once this is up and running, WordPress should be ready to go (locally). Now we need to utilise nginx to server our website externally. For the time being, we will serve it over port 80, using HTTP. Later we will upgrade this to HTTPS to encrypt, and secure, our traffic between the client and server.
gary@server:~$ sudo nano /etc/nginx/sites-available/wordpress_site.comPopulate the new nginx website file with the following. Be sure to set the correct domain names relative to the target URL and check that the PHP-fpm version matches the version you installed.
server {
    listen 80;
    server_name /;
    root /var/www/html;
    index index.php index.html index.htm;

    location / {
        try_files $uri $uri/ /index.php?$args;
    }

    location ~ \.php$ {
        include snippets/fastcgi-php.conf;
        fastcgi_pass unix:/var/run/php/php8.3-fpm.sock;
        fastcgi_param SCRIPT_FILENAME $document_root$fastcgi_script_name;
        include fastcgi_params;
    }

    location ~ /\.ht {
        deny all;
    }
}
Once saved, the new nginx site can be linked to a file within the enabled websites directory. Allowing nginx to load and serve the data. If nginx tests pass, we simply restart nginx and our configuration should be loaded into the nginx process.
gary@server:~$ sudo ln -s /etc/nginx/sites-available/wordpress_site.com /etc/nginx/sites-enabled/

gary@server:~$ sudo nginx -t
gary@server:~$ sudo systemctl restart nginx
Note: when running the nginx test, you may retrieve an error that might indicate that the php fpm is not currently running. This can be fixed with the following command:
gary@server:~$ sudo systemctl php8.3-fpm.sockRerunning the nginx test should result in a pass, and the nginx service can be restarted correctly.
In our case, we also hit a second blocker on our local server when performing the above steps. Apache2 had installed and started, so we had to kill the service to release the bound port (80). After this, our nginx server started with no problems.
gary@server:~$ sudo systemctl stop apache2At this point, the website should be visible and usable, as seen below:
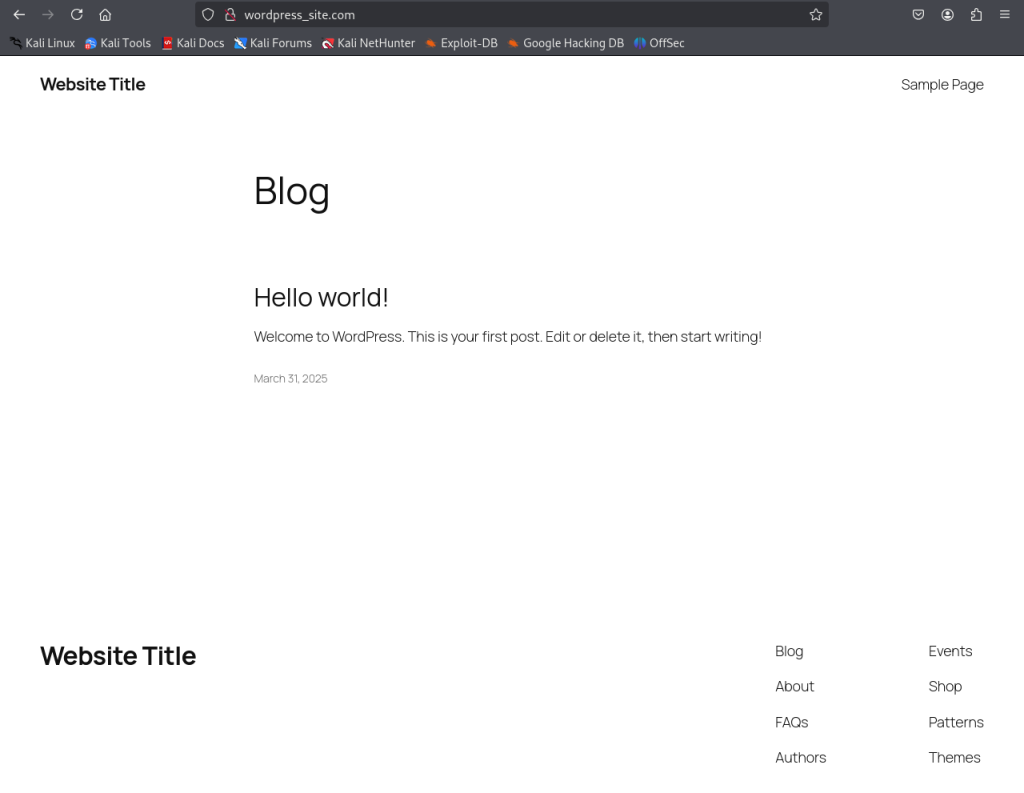
Just remember, as of right now, the traffic is unencrypted and the site will likely throw warnings in browsers due to the lack of TLS/SSL. We will address this in the next post.